A Mini Guide to Hiking Trolltunga, Norway
There are some places that are even more spectacular than you imagine them to be. Trolltunga was one of them.
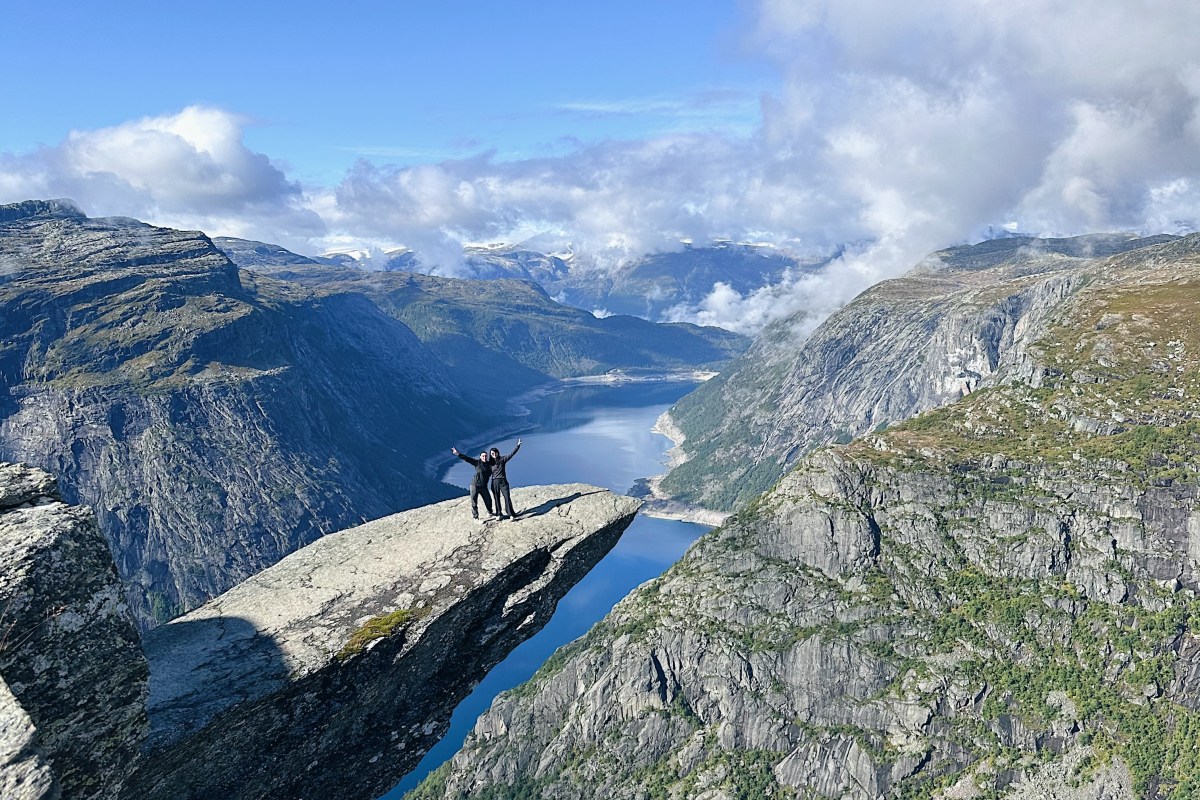
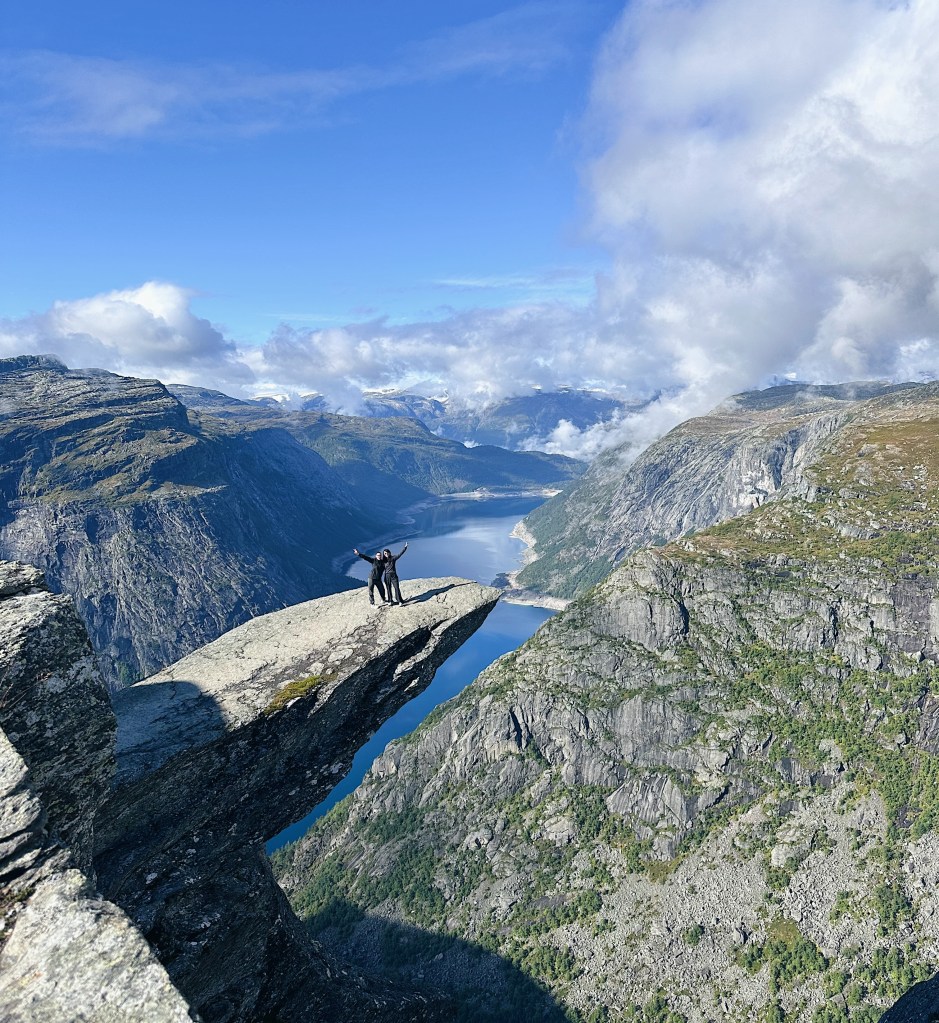
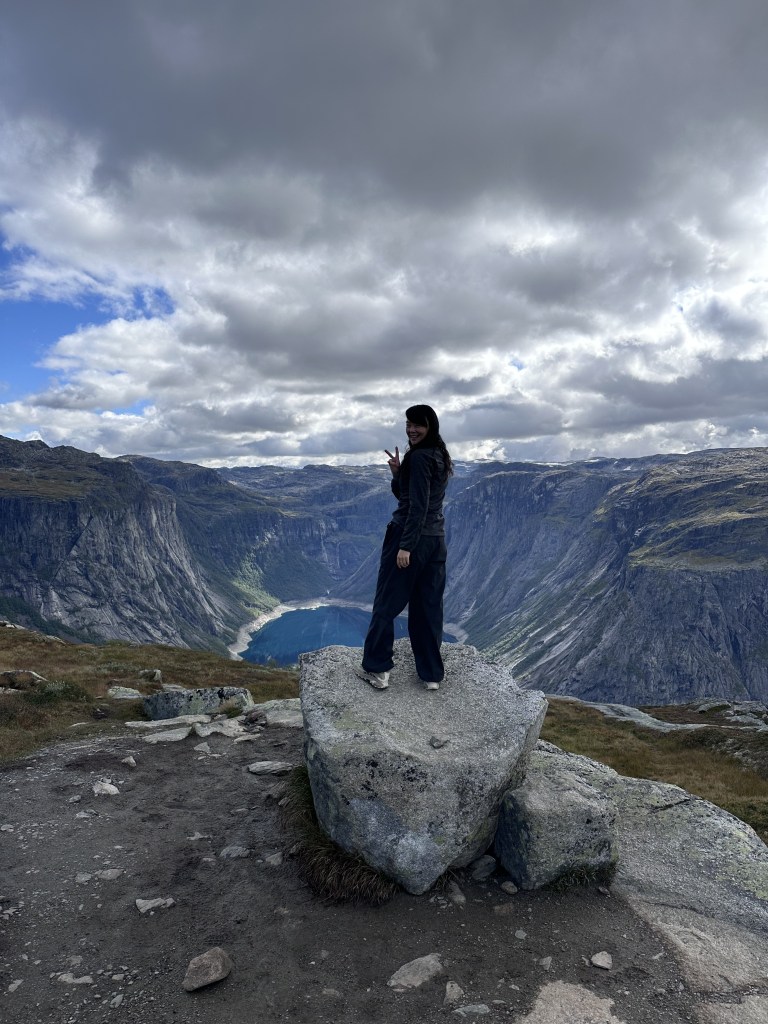
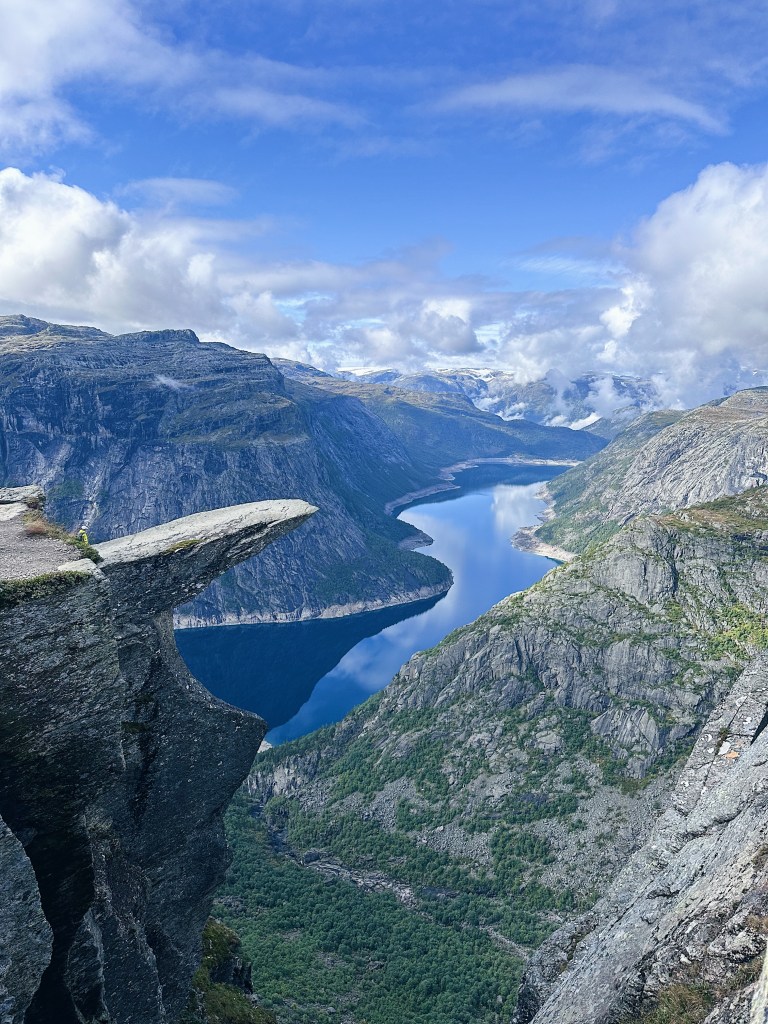
Of course, the famous rock itself is incredible – jutting out around 700 metres above Ringedalsvatnet with nothing but mountains and water around you. But what surprised me most was that hiking Trolltunga wasn’t really just about reaching the Troll’s Tongue.
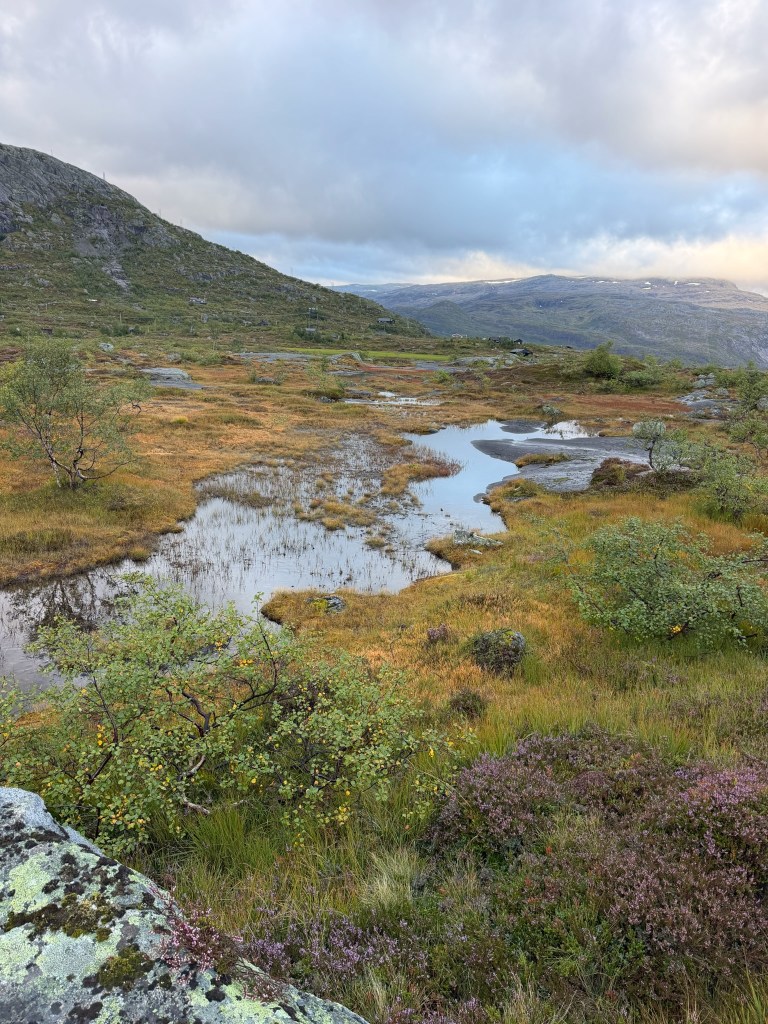
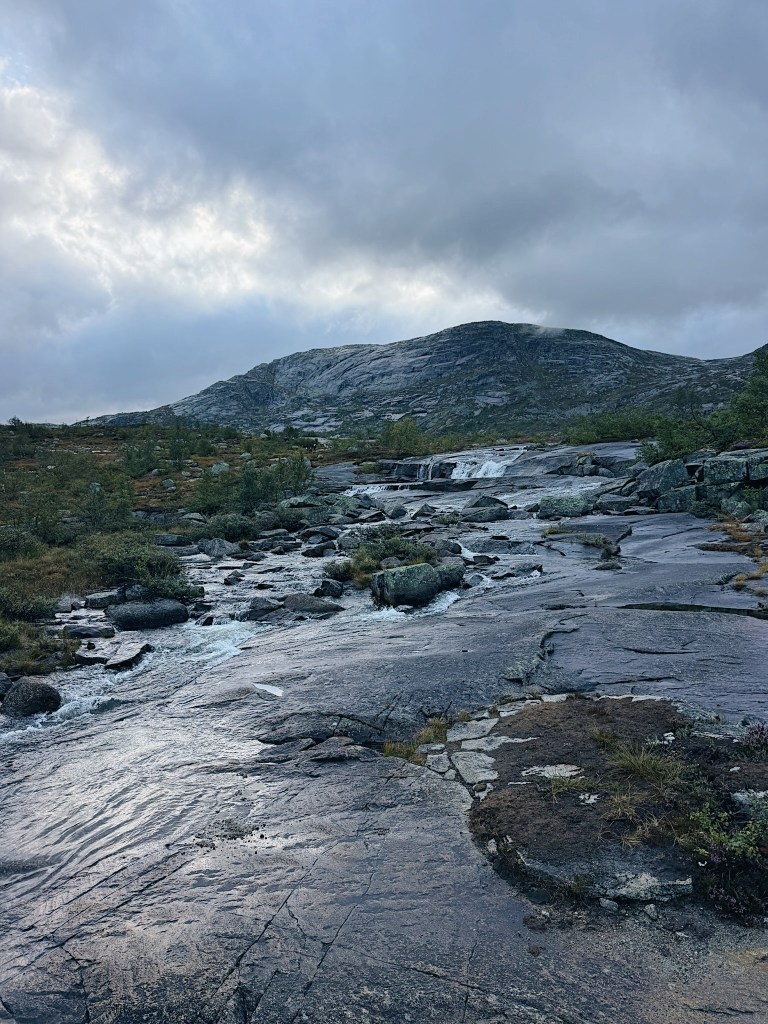
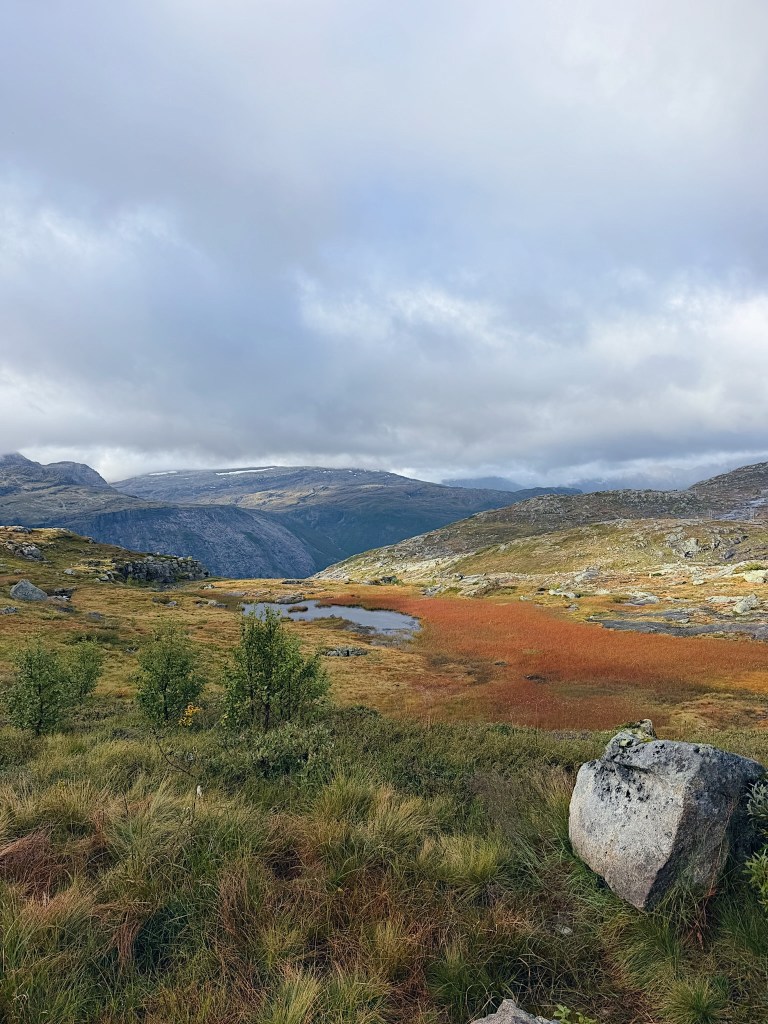
The entire hike was spectacular.
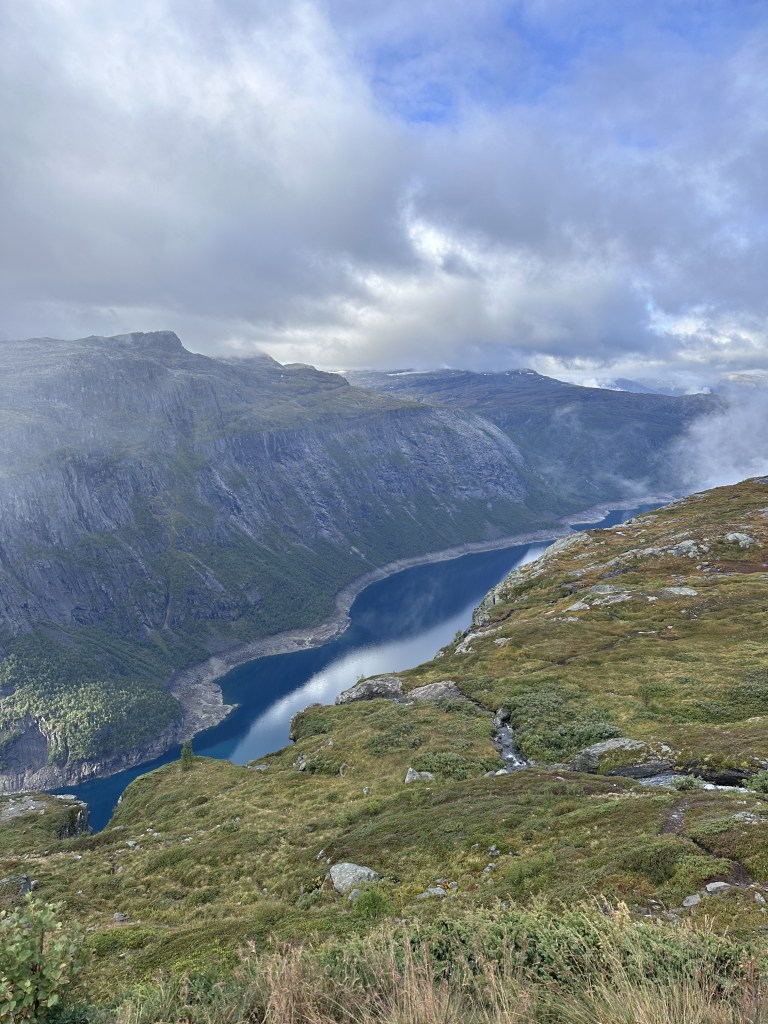
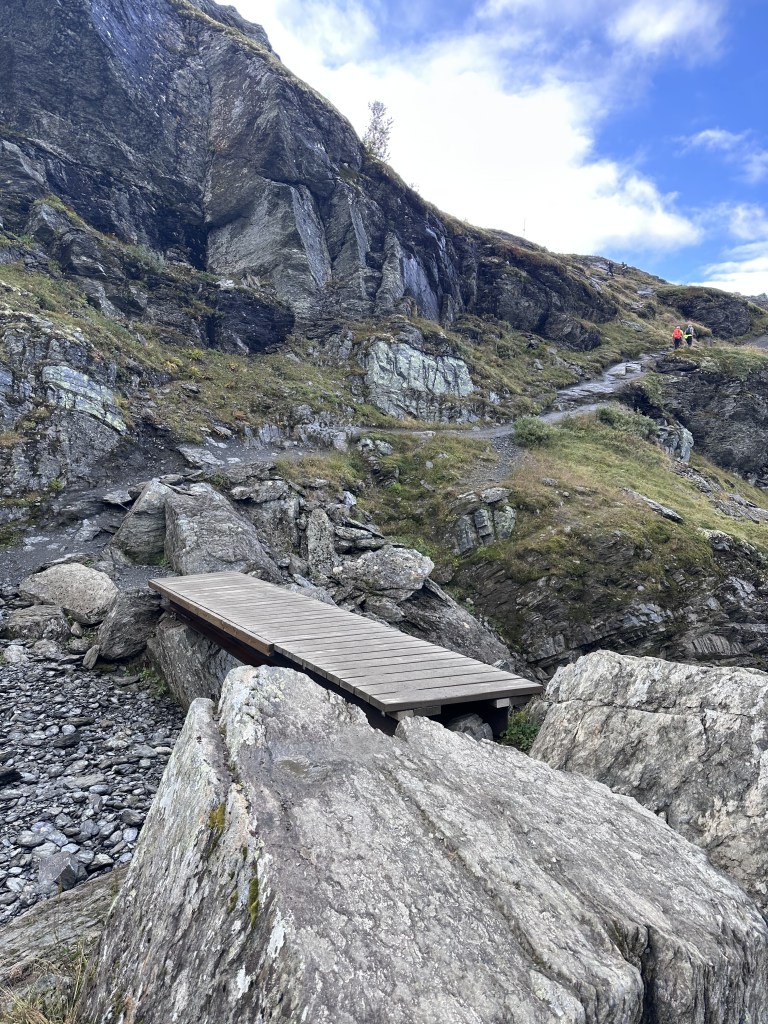
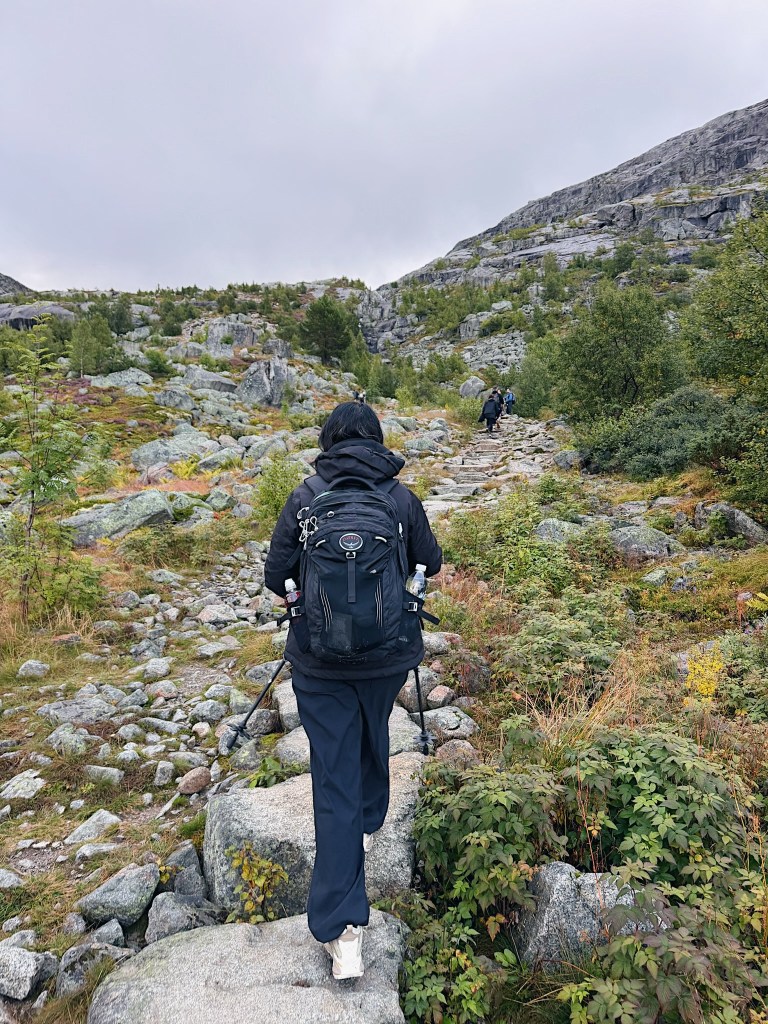
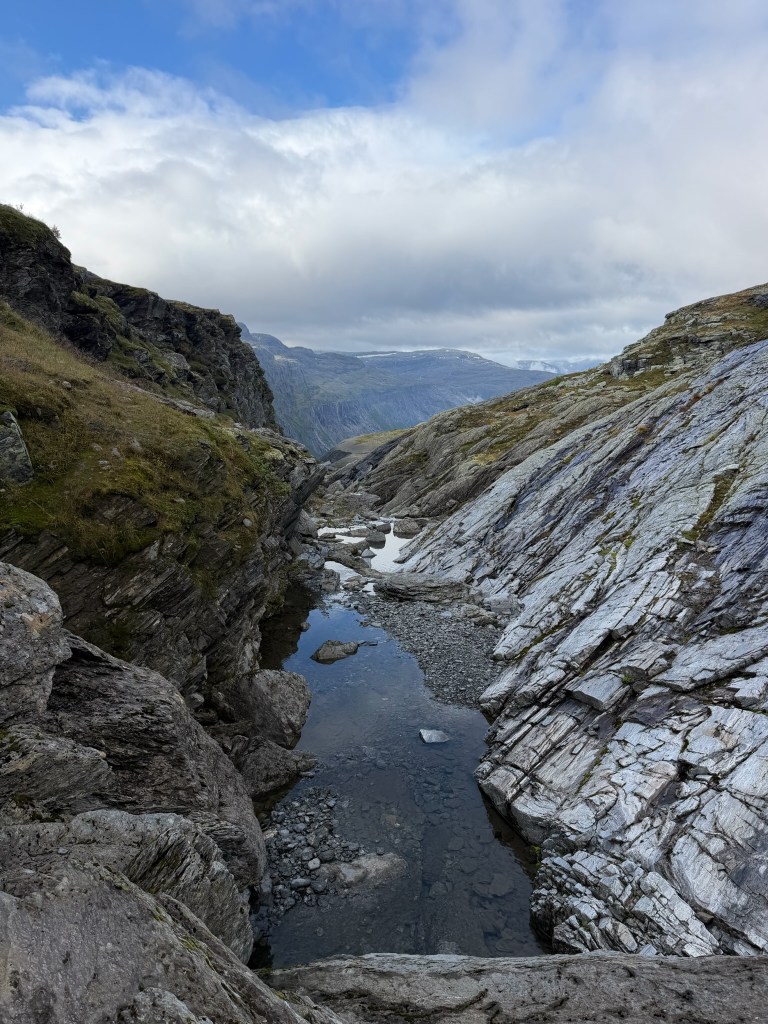
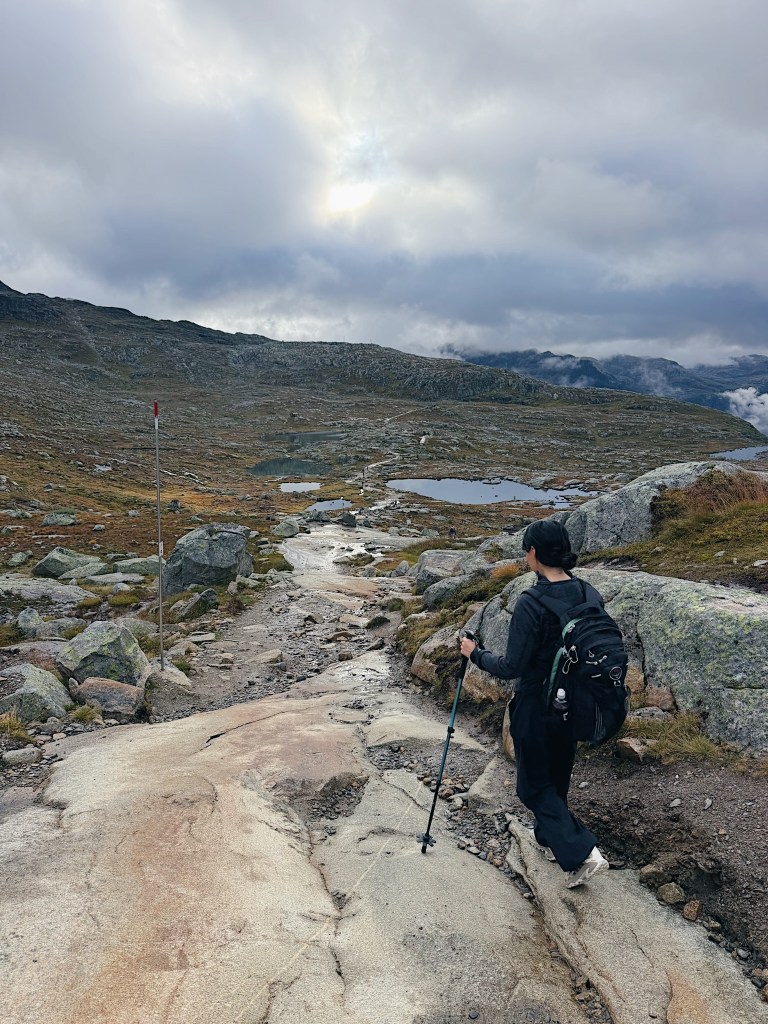
Hours of walking through raw Norwegian mountain landscapes, past lakes, streams and endless views. No roads, no cafés, no shortcuts – just nature. The kind of scenery you only really get to experience when you’re willing to walk quite far to get there.
And yes, it is a long day. But absolutely worth it.
Planning the Trolltunga hike – and watching the weather
We had booked P3 Mågelitopp parking for two different dates several months in advance, giving ourselves some flexibility depending on the weather. And we needed it. Right up until our trip, the forecast basically said: rain, rain, rain.
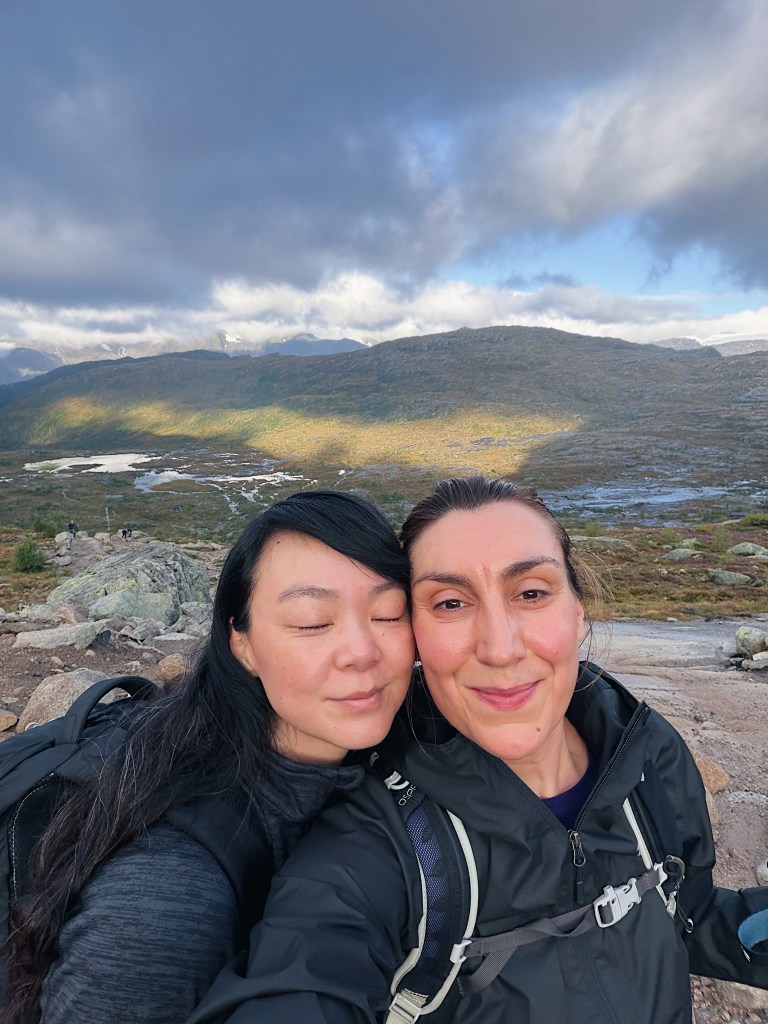
On the morning of our hike there was still quite a lot of fog, which made us slightly nervous as we started walking. But after around 30 minutes, the sun suddenly appeared – and stayed with us almost all the way until the descent.
Coming down, we had a beautiful mix of sunshine and clouds, and the rain didn’t arrive until that evening when we were safely back at the hotel. Sometimes you simply get lucky in Norway.
My biggest advice would be to keep an eye on the weather, prepare for it to change and, if possible, give yourself some flexibility when planning your hiking day. Don’t do the hike if it really is a full raingy day, the rocks will be way to slippery to climb (and there are a lot of those).
The official Trolltunga website is also the place to check trail conditions, weather advice and practical information before setting out.
Starting from P3 Mågelitopp
We had rented a car and drove ourselves to P3 Mågelitopp, the highest of the three Trolltunga parking areas.
Starting from P3 makes quite a difference: the hike from here is approximately 20 km return, compared with around 27 km if you start at P2 Skjeggedal.
Our parking access started at 7 AM and we arrived around 7.15 AM, which worked perfectly. P3 has very limited parking, so if you’re planning to drive yourself during the main season, I would definitely recommend looking into booking it well in advance.
If you don’t have a car – or don’t manage to get a P3 parking space – there are also Trolltunga shuttle buses from Odda towards the trailhead and from P2 Skjeggedal up to P3 Mågelitopp.
From P3, it took us just under four hours to reach Trolltunga and around three and a half hours to walk back down.
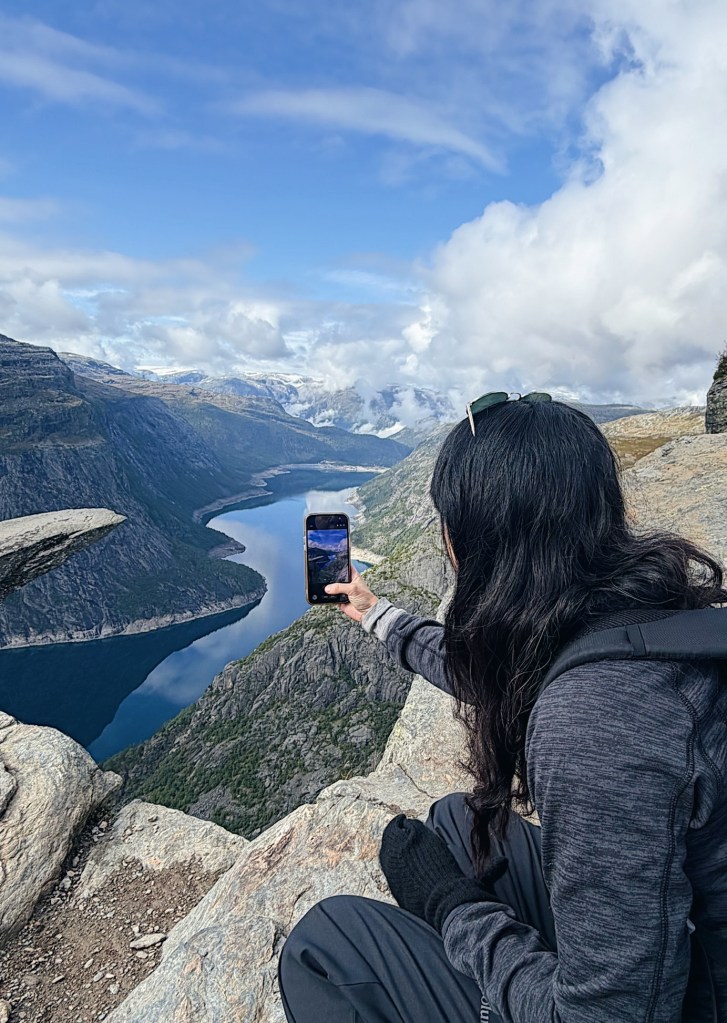
We stayed at the top for approximately an hour, having lunch, taking photos and simply enjoying the view. So in total, this was very much a full-day adventure.
What we packed for Trolltunga
We each carried a 33-litre backpack, which was plenty for a day hike.
One thing we discovered was that there are lots of natural water sources along the trail. We therefore only carried two ½-litre bottles each and refilled them with fresh mountain water along the way instead of carrying litres of water from the beginning.
For lunch, we brought packed food that we had made/bought at our hotel, together with raw bars, protein bars and – obviously, when hiking in Norway – Kvikk Lunsj.
We also packed extra wool socks, gloves and beanies, although luckily we never needed them.
What we wore
Layers are definitely the answer.
We hiked in ski base layers, hiking trousers, wool socks, fleece and shell jackets, so we could easily adjust throughout the day.
And then there were the boots.
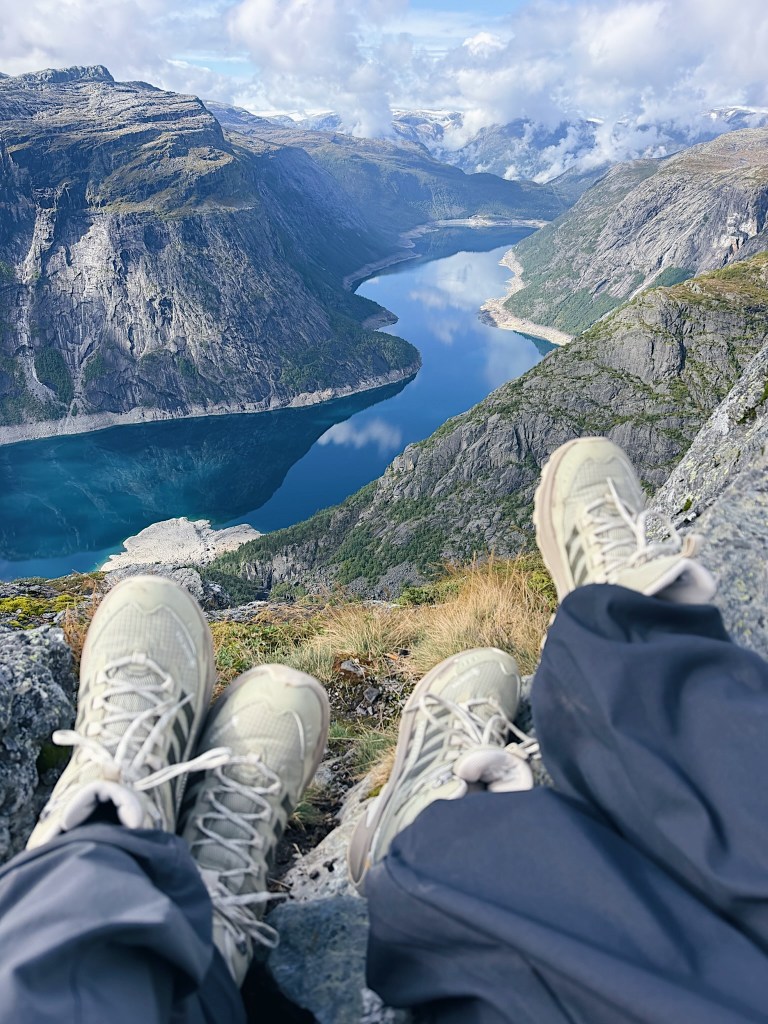
I wore my Merrell hiking boots, and they were genuinely one of the best decisions I made for this trip. With so many hours on rocky and uneven terrain, having proper hiking boots made a huge difference – especially towards the end of the day when the kilometres start to feel slightly longer.
We had also bought foldable hiking poles specifically for the trip. Another very good decision. They don’t take up much space in your backpack when you don’t need them, but they were brilliant on some of the steeper sections and especially helpful on the descent.
Staying in Odda
We based ourselves in Odda, approximately 30 minutes by car from the Trolltunga parking area, and stayed at Trolltunga Hotel.
It was practical and comfortable, although I think a small Airbnb or another hotel in Odda would work equally well. The most important thing for us was simply being close enough to get an early start.
The hotel was also able to help us with food for the hike, which made the early morning much easier.
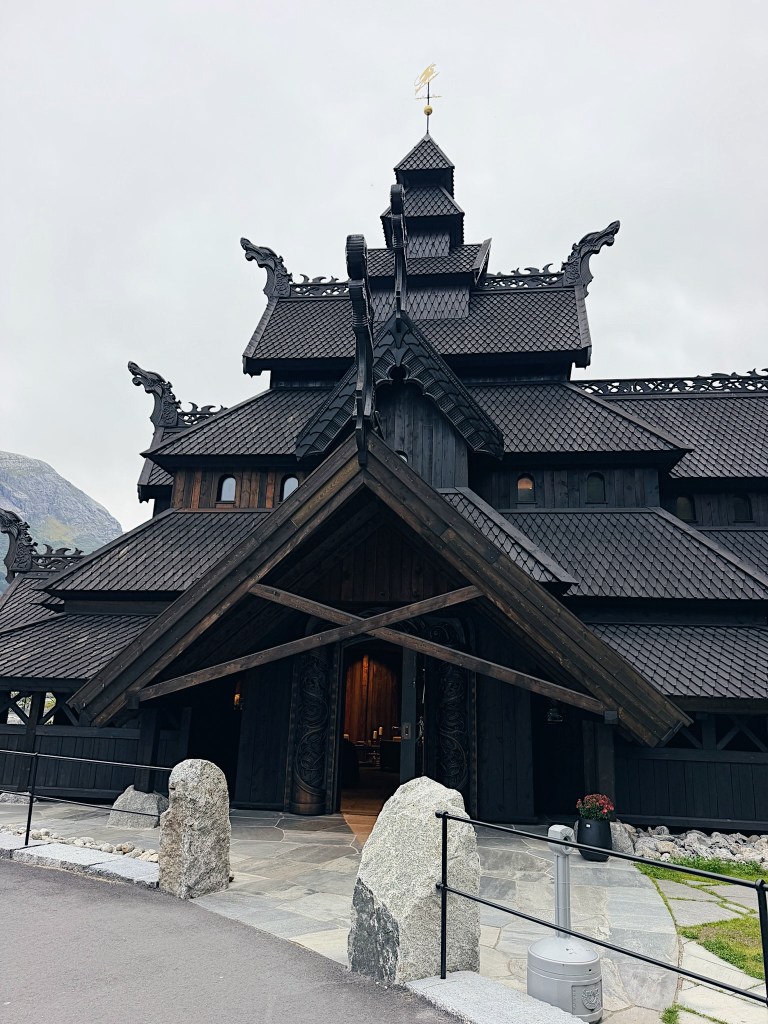
After Trolltunga, we had dinner at Odda Lothepus by the campsite. A slightly quirky Viking-style restaurant – fun, relaxed and exactly the kind of place where you don’t mind arriving after spending an entire day on a mountain.
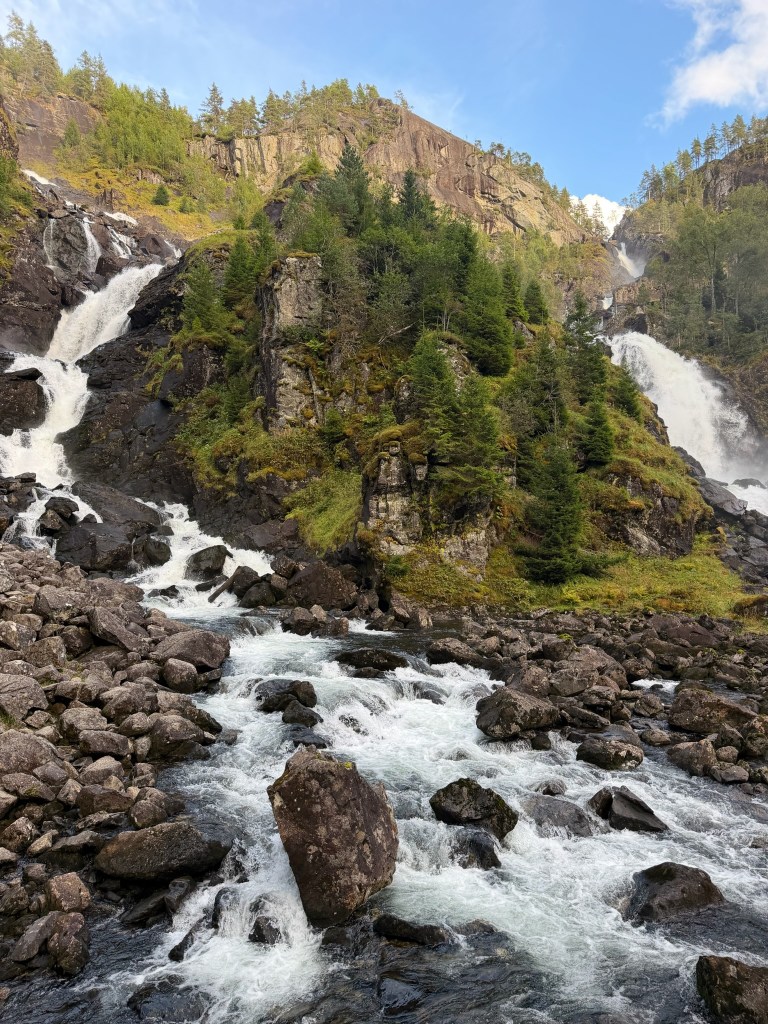
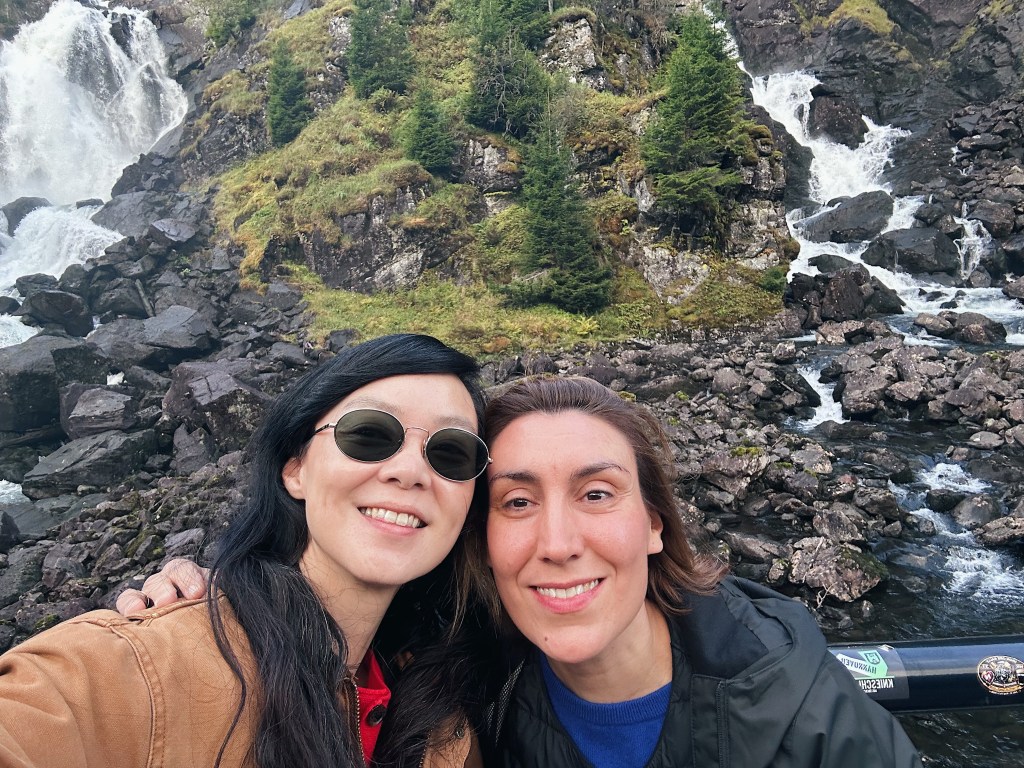
On the way leaving Odda, we went by the Flåtefoss waterfall, just 6 minutes from Odda.
Bergen, Voss and a swim in Norwegian mountain water
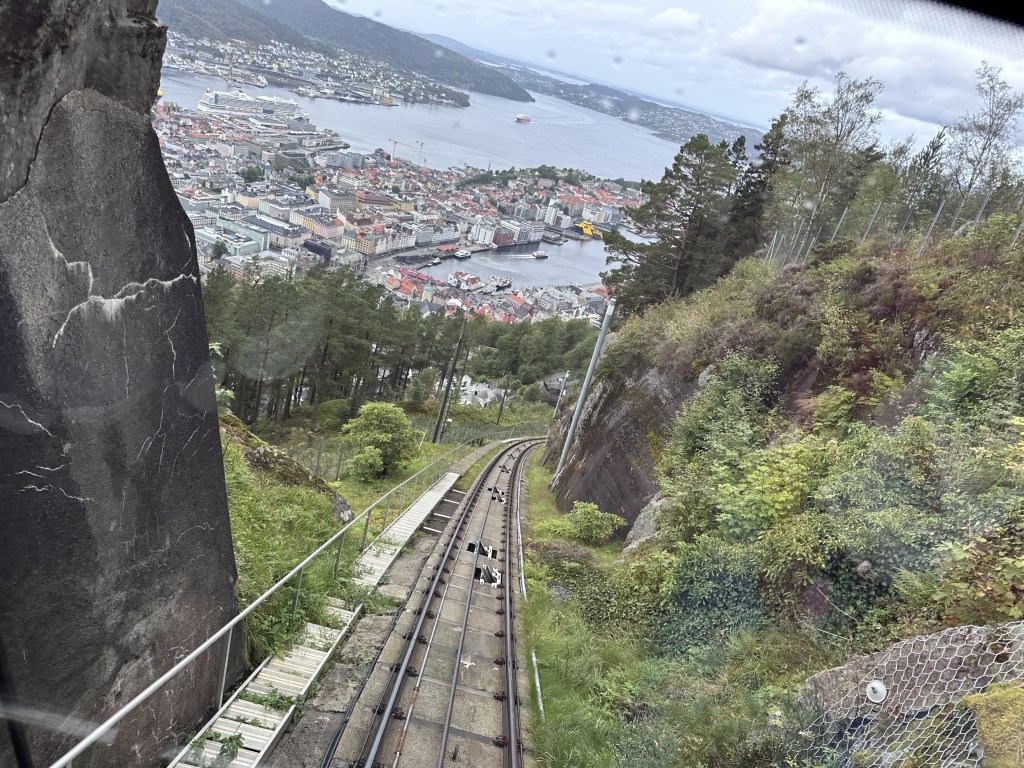
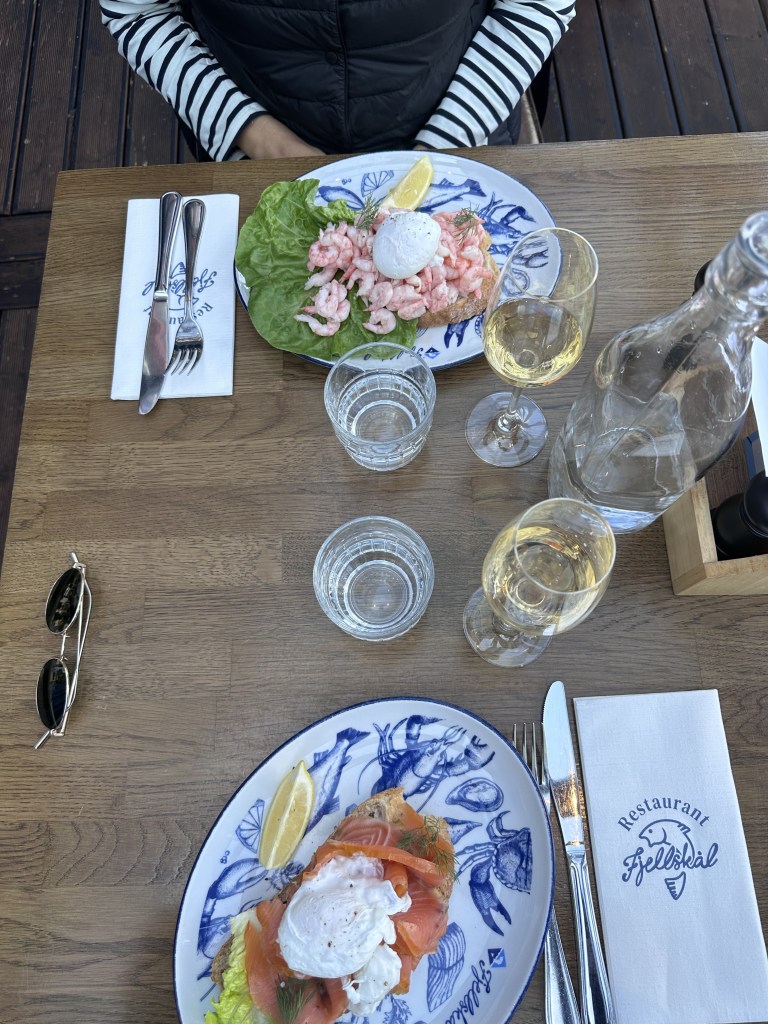
We flew into Bergen, where we of course had to see Bryggen before heading towards Odda. The colourful old wharf is UNESCO World Heritage-listed and, even if you only have a little time in Bergen, definitely worth seeing. We had good weather upon arrival, so we also tried the “Fløjbanen” train up to Bergen mountain for the viewpoint and the (surpricingly) large park just behind it. And had lunch in the Fish Market by the water. A perfect start to a 3nights/4 days stay.
Instead of driving directly from Bergen to Odda, however, we went via Voss for one very specific reason:
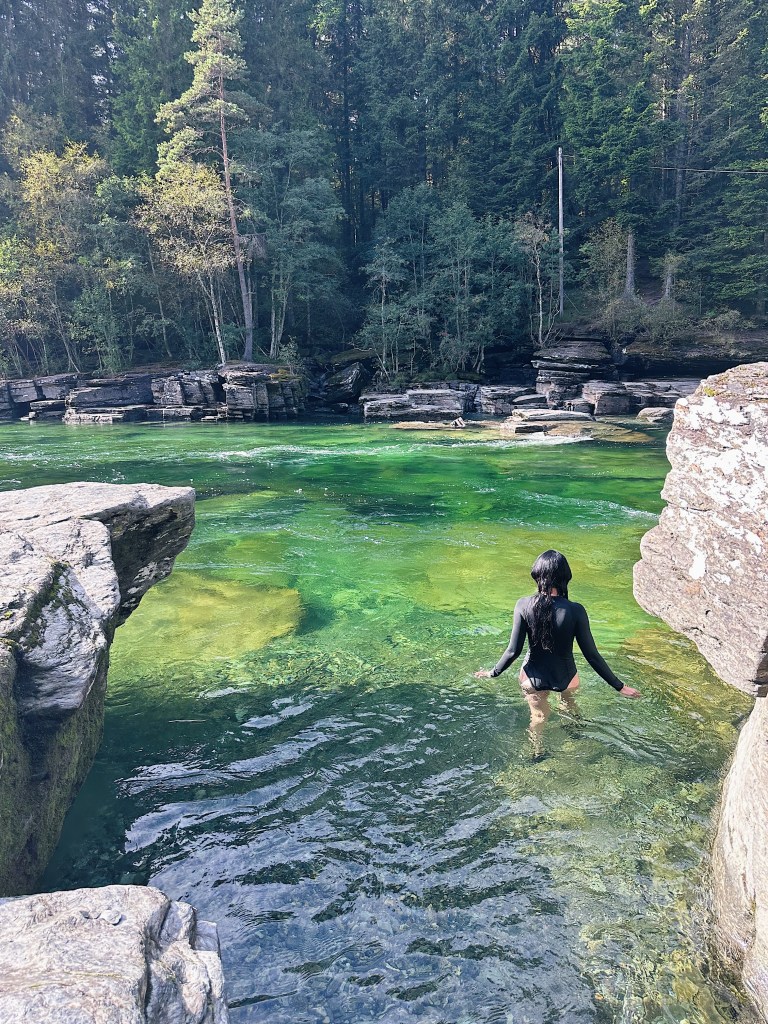
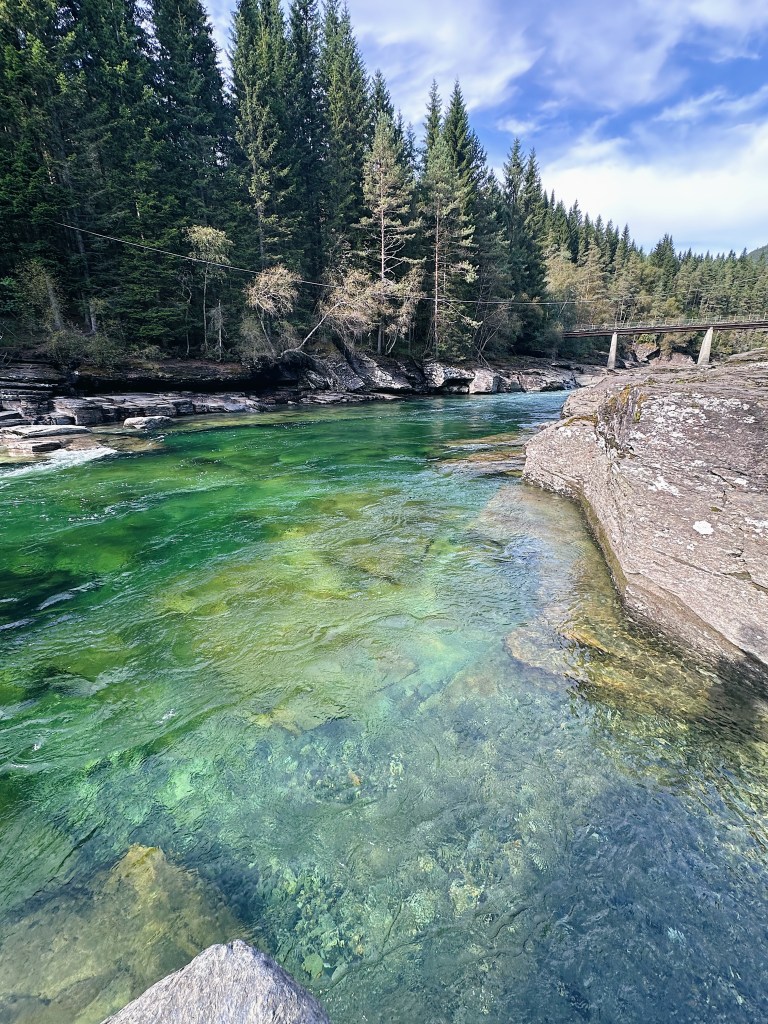
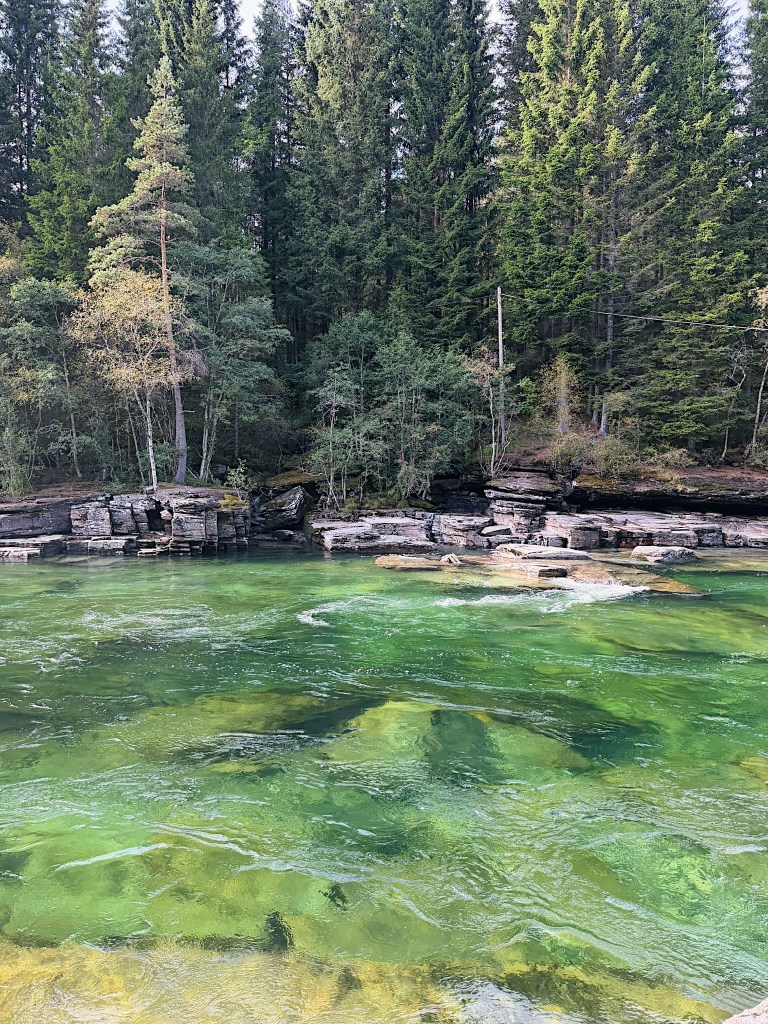
A swim. We stopped at Bjørkemoen Badeplass to swim in the incredibly clear Voss water. 10/10 recommendation.
It’s such a simple stop, but swimming surrounded by Norwegian nature was the perfect way to begin the trip.
Was hiking Trolltunga worth it?
Completely.
Trolltunga was one of those rare travel experiences where the reality somehow manages to live up to all the photographs you’ve seen beforehand.
But again: don’t hike Trolltunga only for Trolltunga. The magic is the entire journey there.
Walking for hours through this enormous Norwegian landscape, with mountains stretching in every direction, drinking water straight from the streams and watching the weather move across the peaks made the hike feel like much more than ticking off an iconic viewpoint. It was wild, peaceful, exhausting and incredibly beautiful.
There is something very special about reaching places that you simply can’t drive to. Places where the only way in is to walk.
And somewhere along those kilometres, surrounded by nothing but mountains, water and Norwegian wilderness, you remember just how small you are.
Trolltunga was one of those days I know I’ll remember for a very long time.
Trolltunga – quick facts from our hike
Where: Trolltunga, Hardanger, Norway
Where we stayed: Trolltunga Hotel, Odda
Starting point: P3 Mågelitopp
Distance from P3: Approx. 20 km return
Start: Around 7.15 AM
Hiking time up: Just under 4 hours
Time at Trolltunga: Around 1 hour
Hiking time down: Around 3.5 hours
Backpack: 33 litres
Water: Two ½-litre bottles each, refilled along the trail
What we wore: Cool base layers, hiking trousers, wool socks, fleece and shell jackets
Our essentials: Proper hiking boots, foldable hiking poles, food, snacks and layers
Getting there: Flight to Bergen + rental car via Voss to Odda
Would I do it again? 100%.
Useful links for planning your Trolltunga hike
Official Trolltunga website – trail information, preparation and conditions
P3 Mågelitopp parking – parking information and booking details
Trolltunga shuttle buses – transport from Odda/P2 to the trail
Trolltunga Hotel – where we stayed in Odda
Bryggen, Bergen – UNESCO – information about Bergen’s historic wharf

